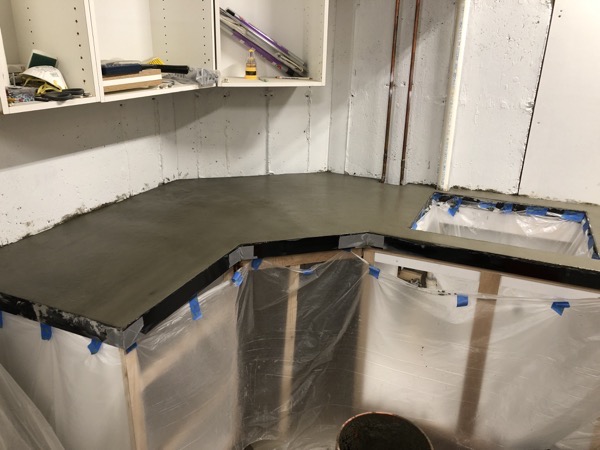
Slowly getting it done
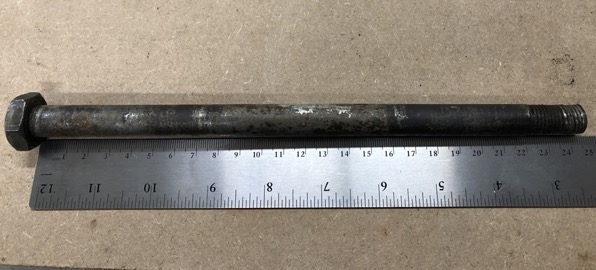
Roached is the word I would use to describe this bolt. Argh. Gotta keep them tight.
Hope I can find a replacement.
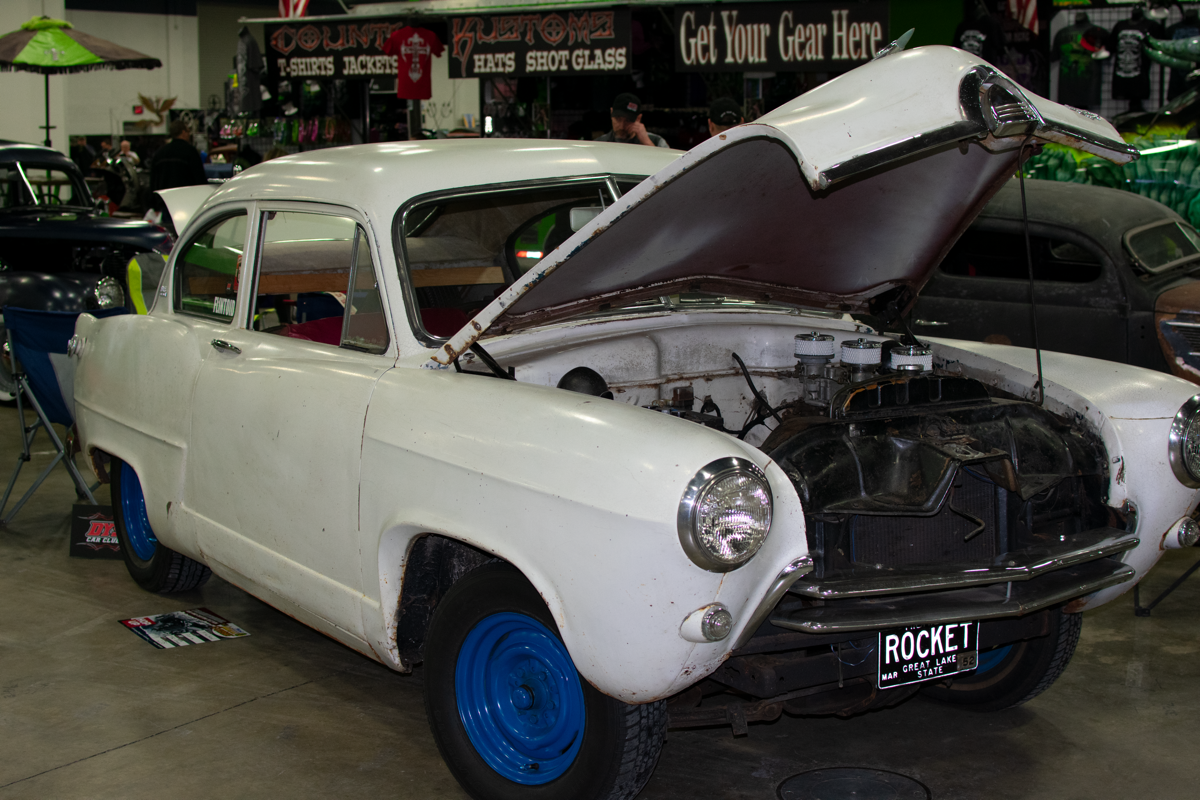
First, a car i’ve never seen. An Allstate that was sold through Sears. It was a badged version of the Henry J. See more about the Henry J. and Kaiser here.
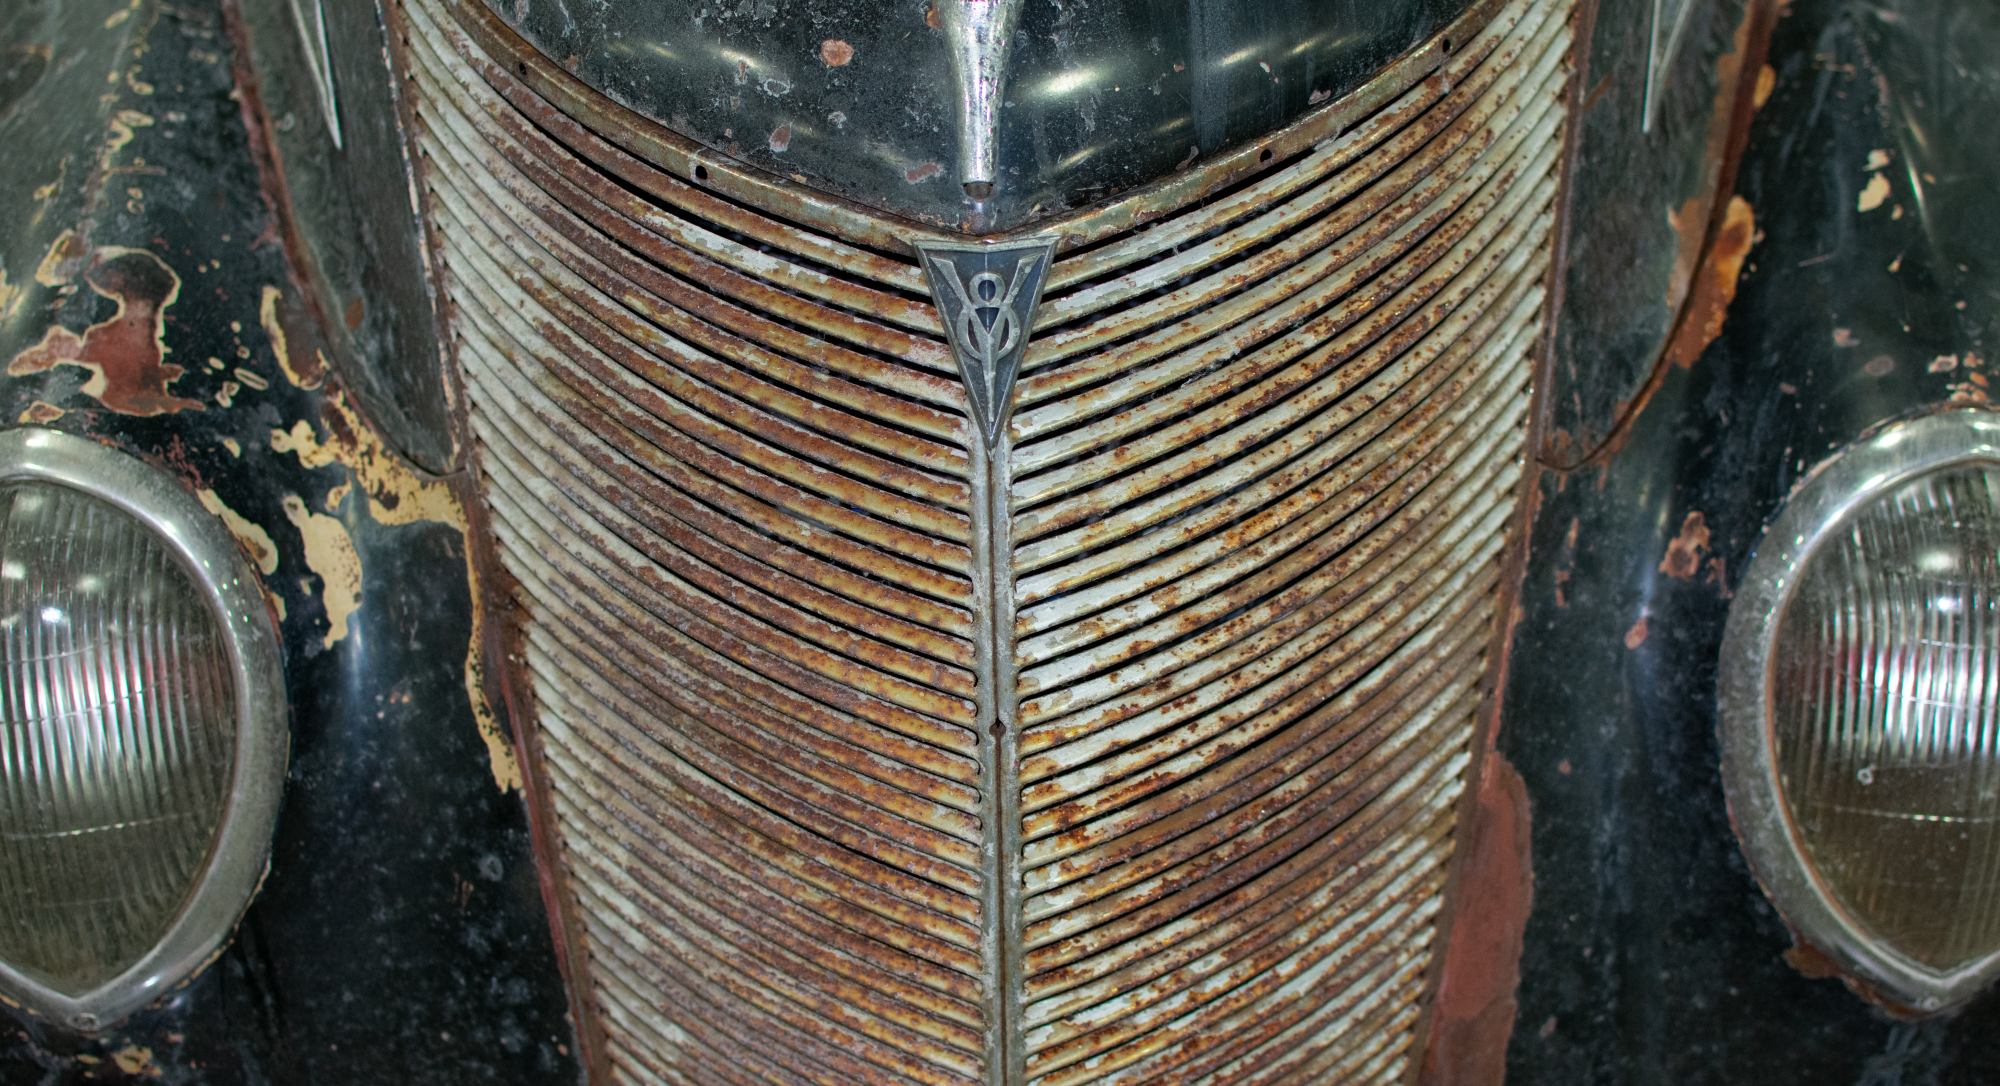
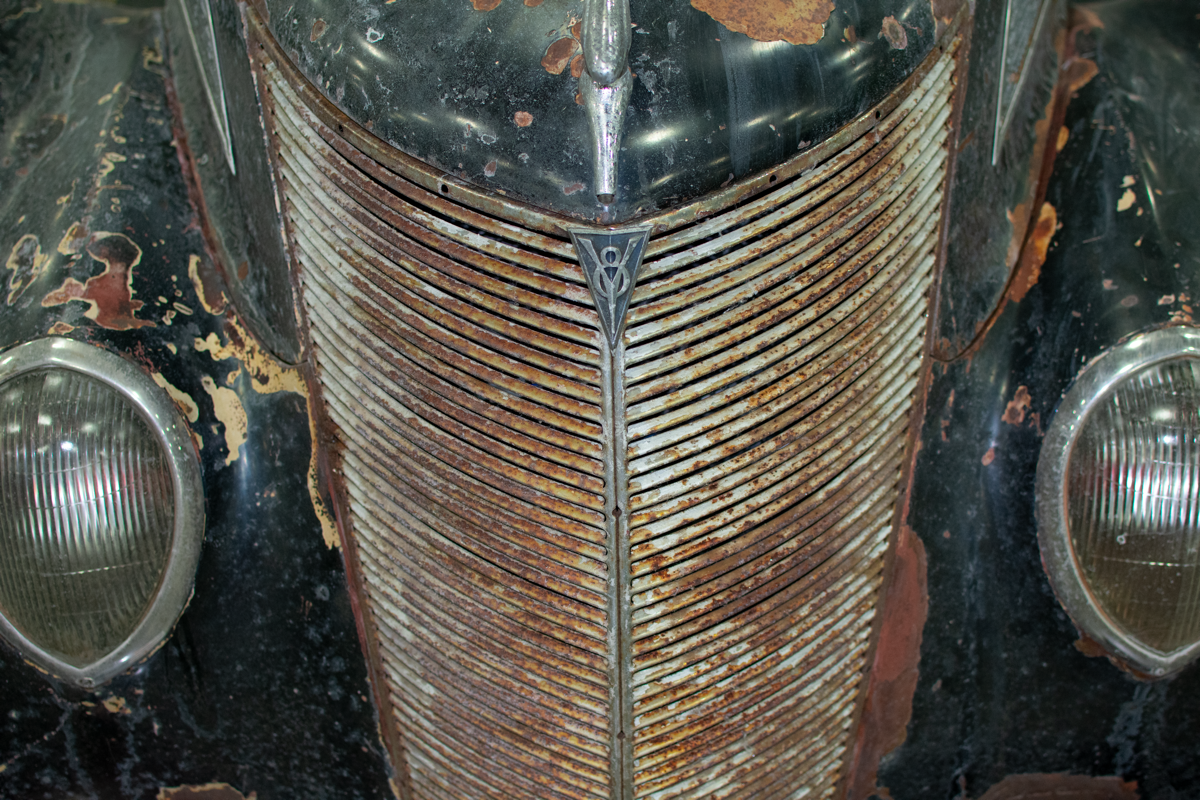
Just a nice grill from a 30’s Ford
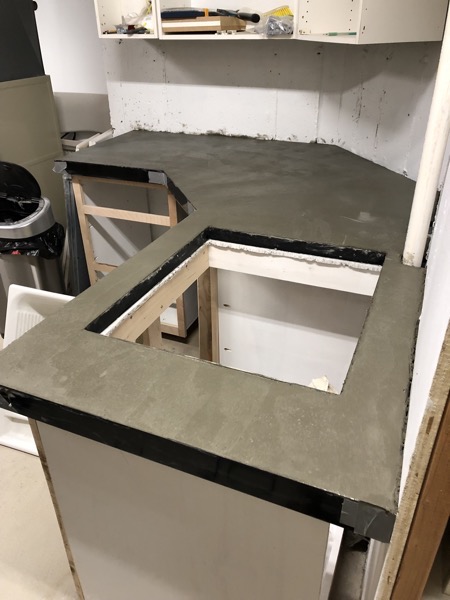
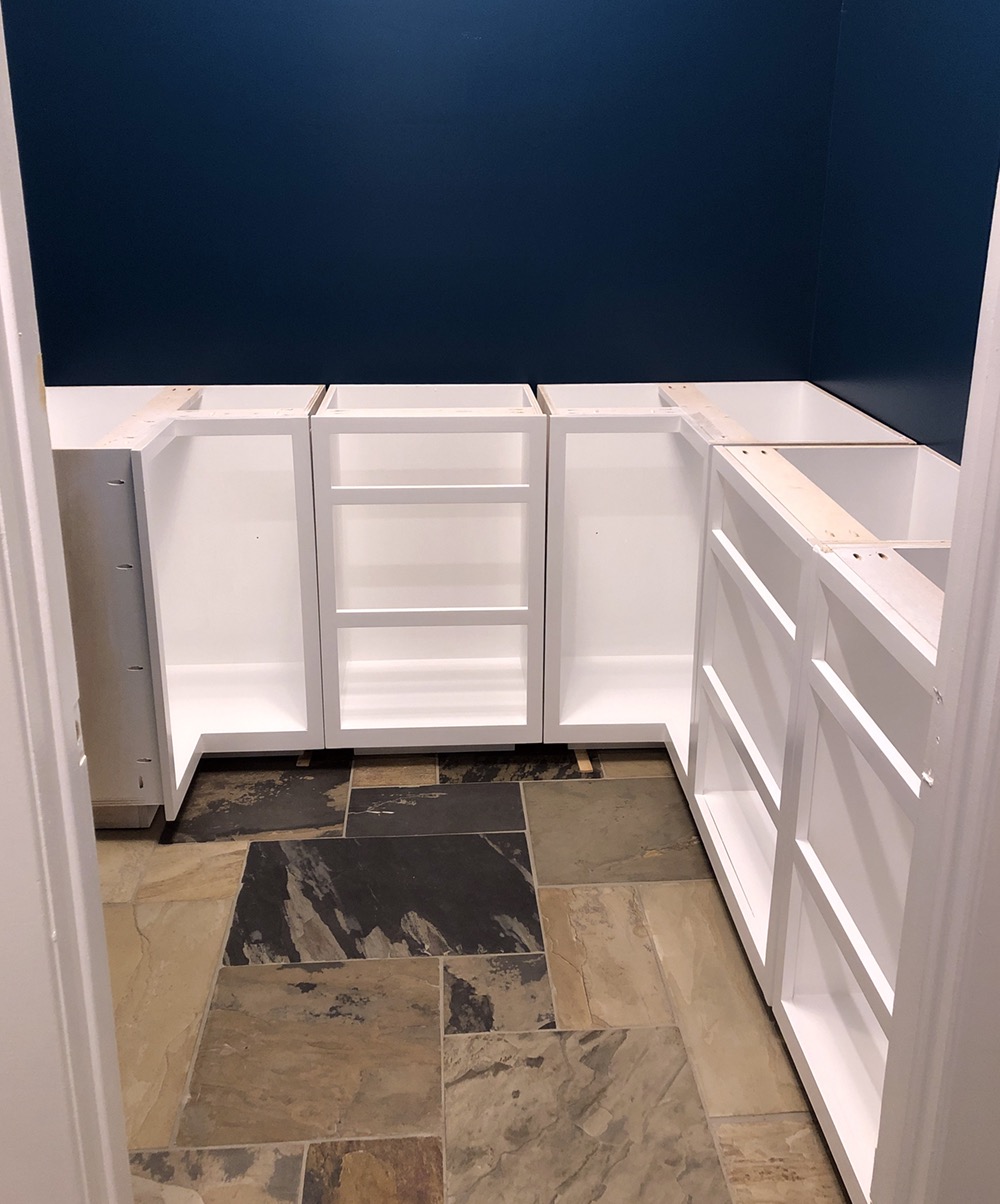
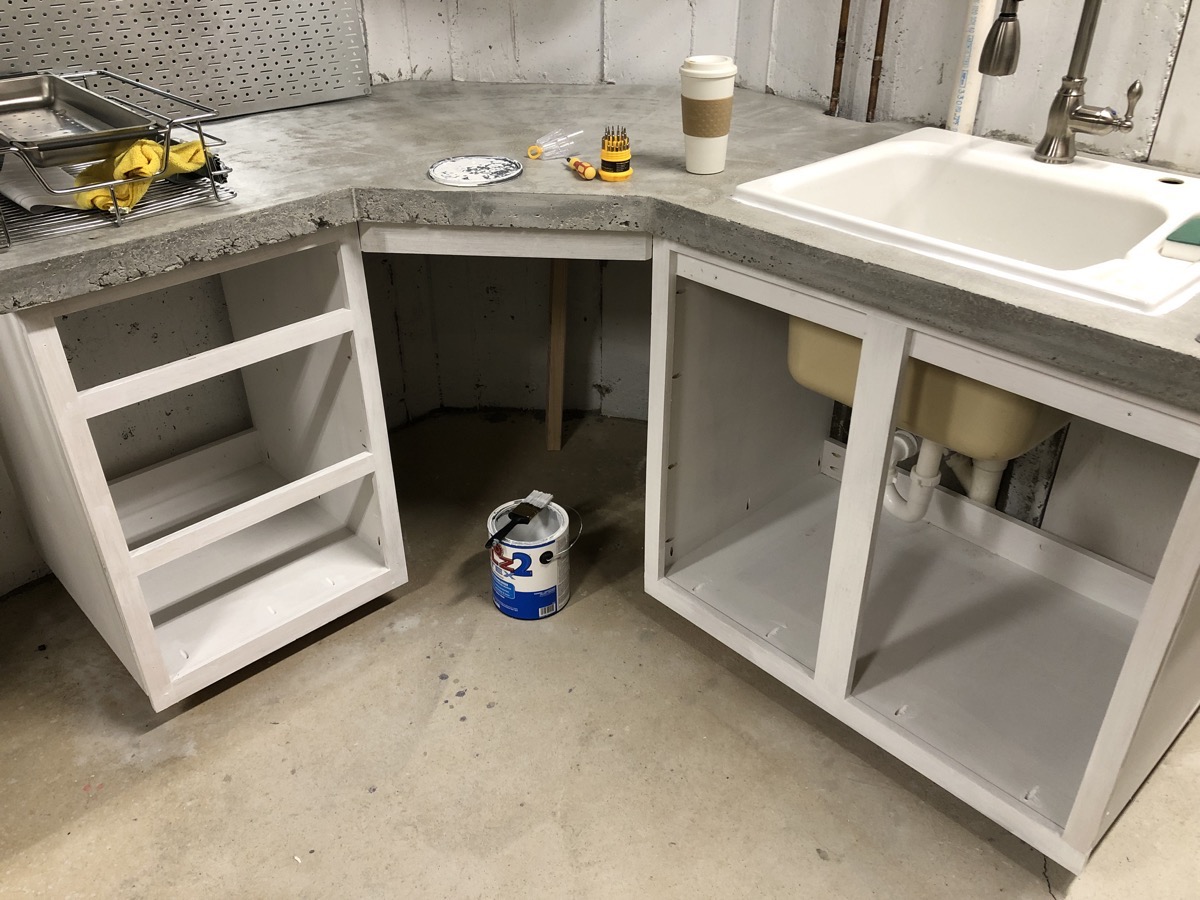
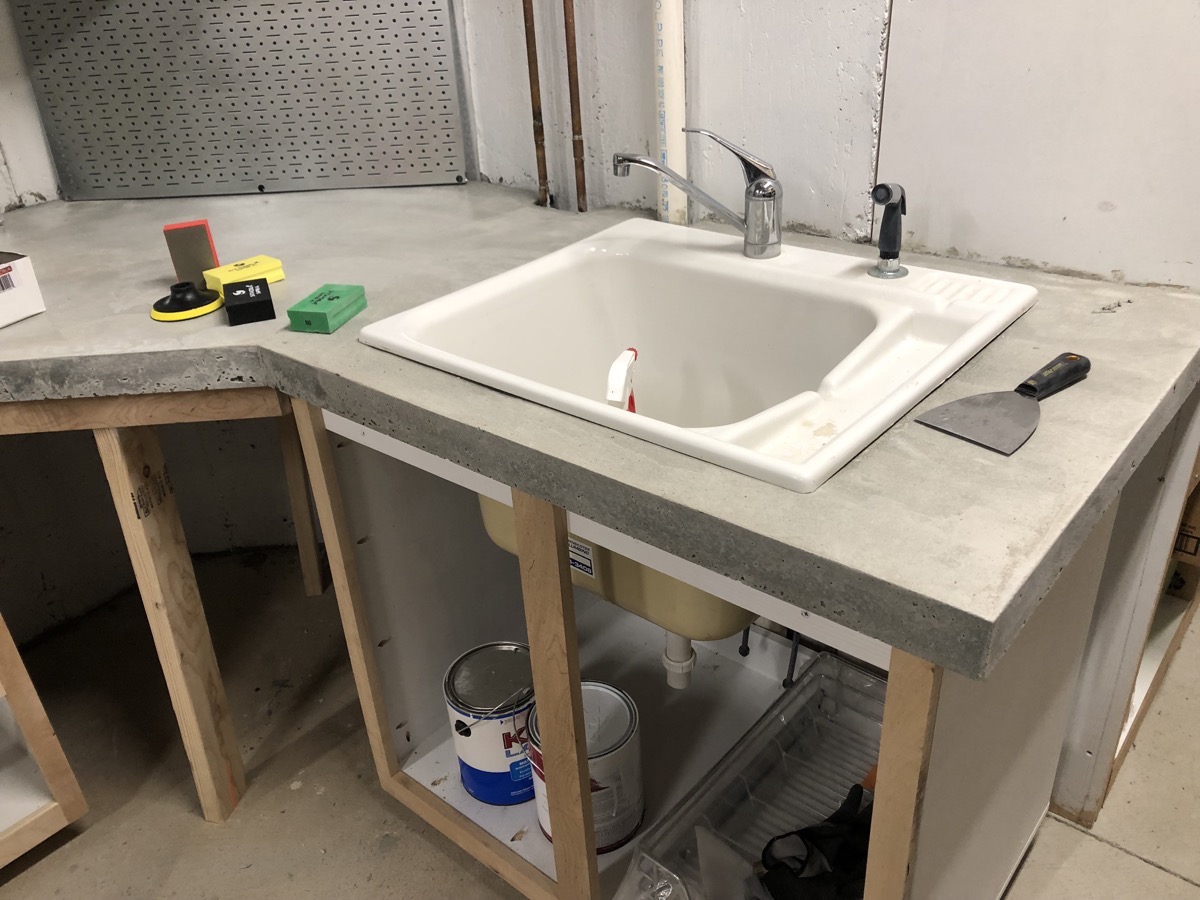
Another update. Concrete counters are now sanded and sealed. Sink, drain and water connected. The cabinets and face frames are primed. Drawers and doors are next.
Previous update is here.
We were on vacation in Venice and wandered over to Burano where I took this picture. The Tower is on the back of the Church of St. Martin Bishop.
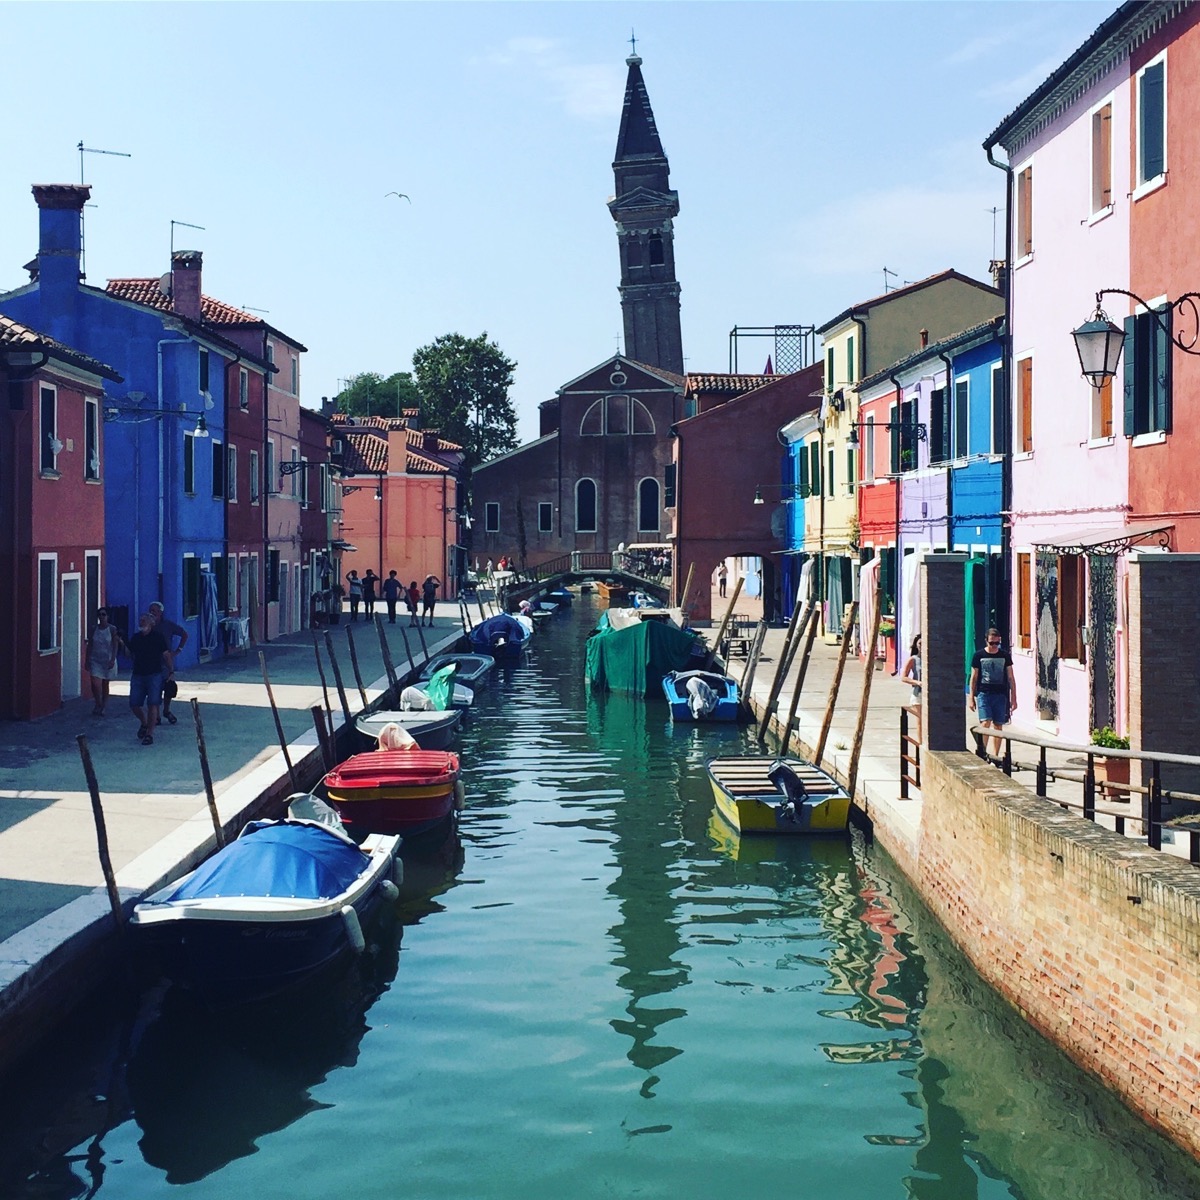
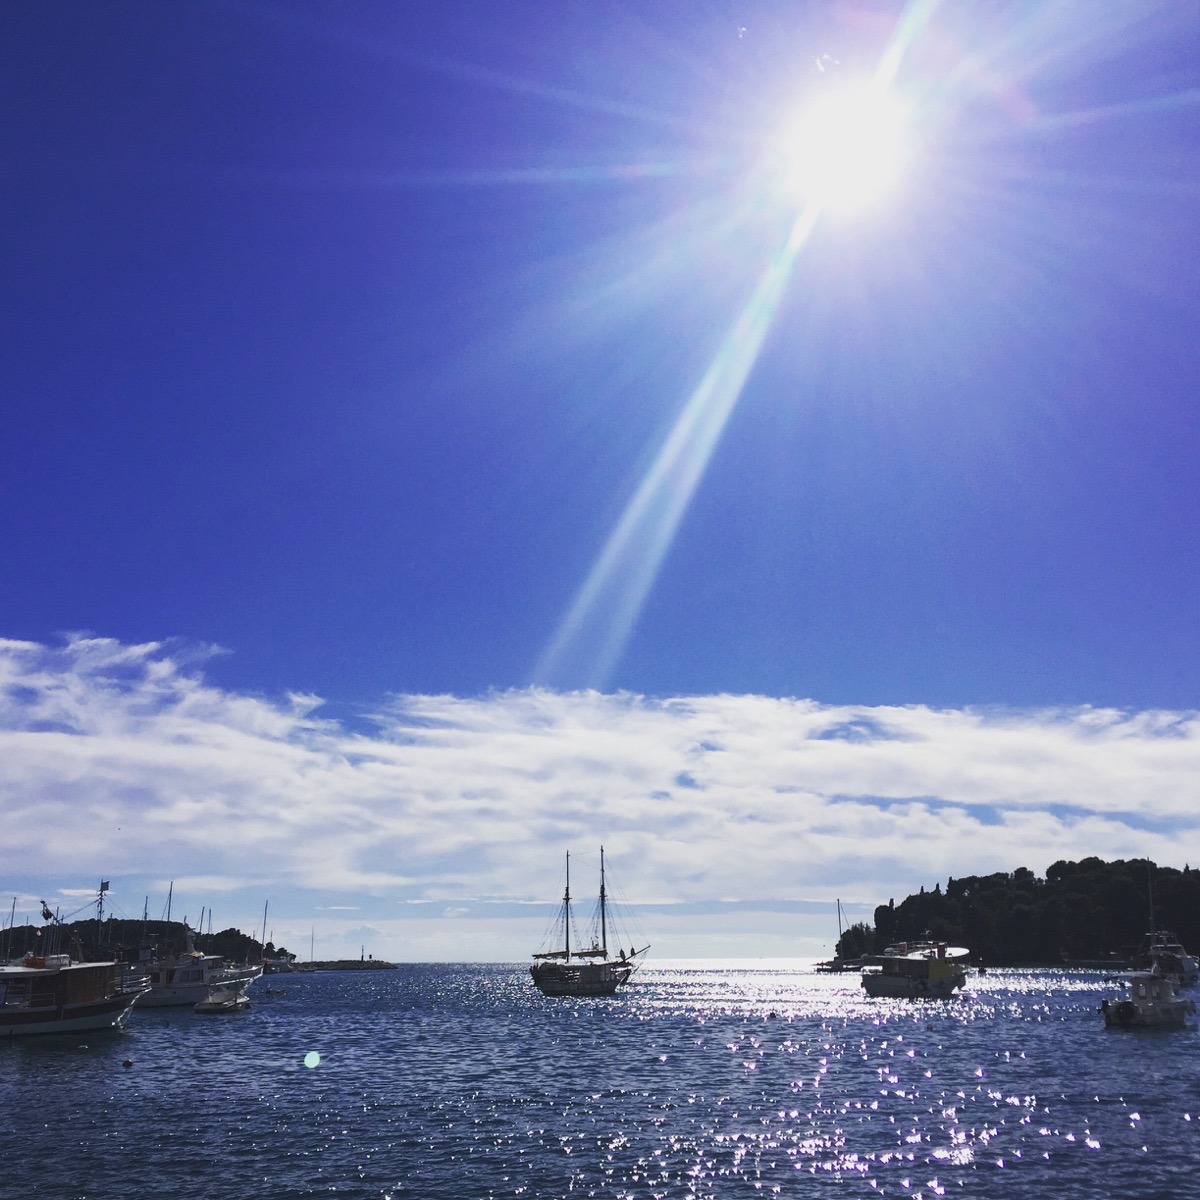
Molly and I were in Rovinj a few years ago. Took this picture on pier. This was a great vacation.
Maybe I should call this the ‘concrete counter chronicles’?
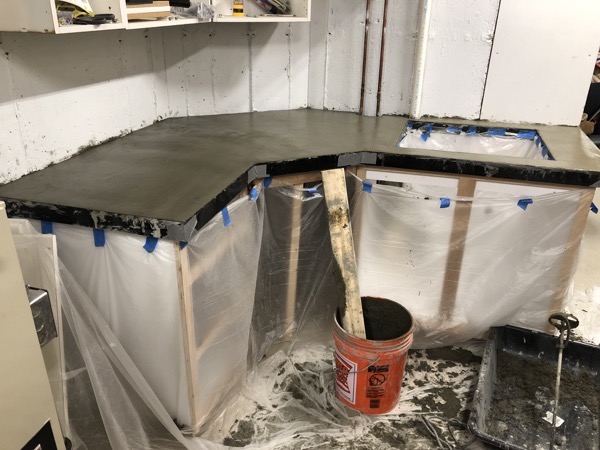
Anyway, I snapped away the forms and this is what I got. Not bad. I would recommend, when pouring, to:
For #1 you can see that, if you move from left to right, I did not push the mix on the left and I did as I moved to the right. I screwed this up because it was just me mixing and pouring and I was rushing. Bad move as I had plenty of time to work the mix.
Regarding mixing in a 5 gallon bucket… I offer a basic pointer. From the 2nd bag forward I mixed the concrete in 10, 30, 30, 30. I mixed water and 10% of the bag to start, got that going with enough water to get the mix pretty wet. Add more concrete, add water, mix. Repeat until the entire bag is in the bucket. Pick up and pour.
I found that to be easiest way to mix and make sure I didn’t have dry areas of concrete at the bottom of bucket.
I may make up a slurry and fill the pinholes along the front.
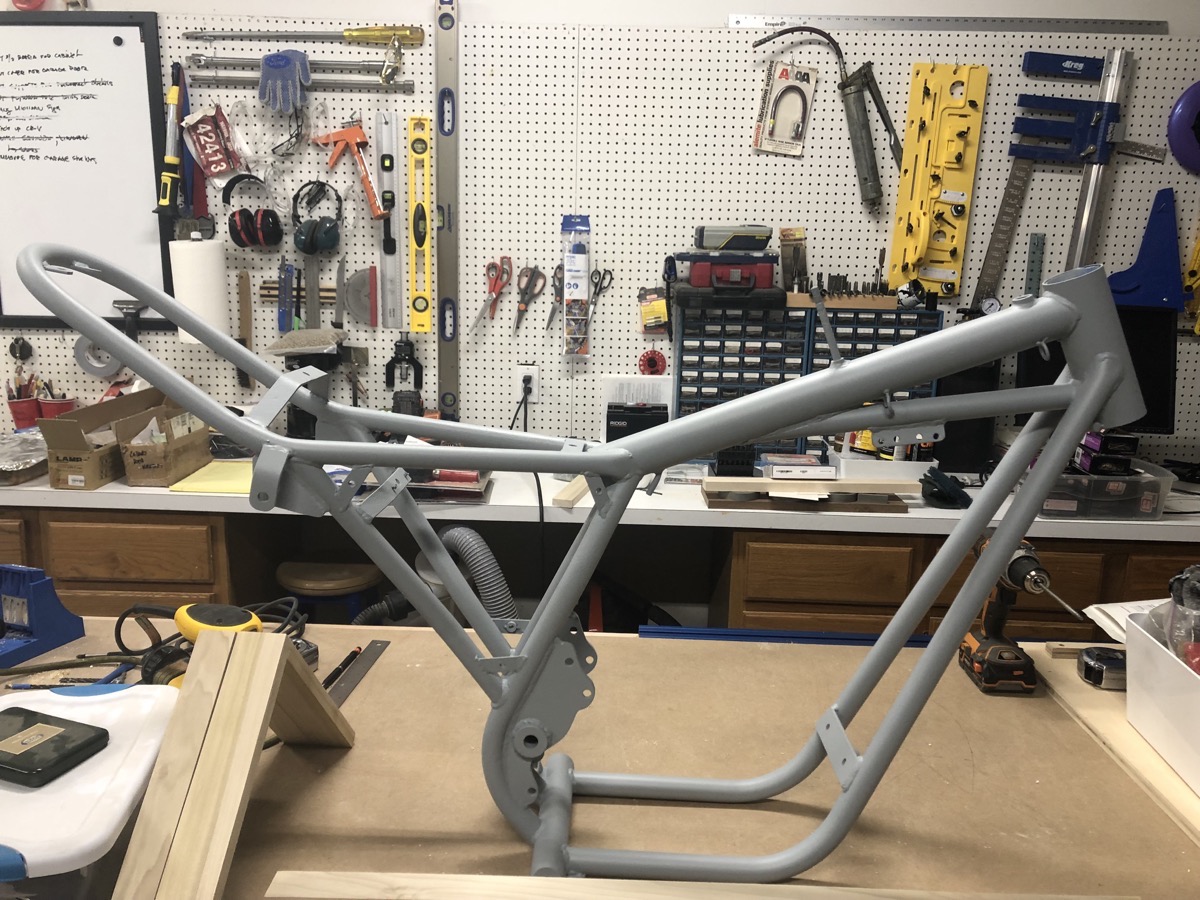
Spent some time last weekend priming the Mudlark frame. Next weekend…paint.