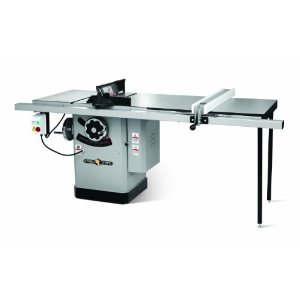
So I have a Steel City table saw. WIll need to dig around see if I can do something like this with it:
Adam Savage’s One Day Builds: Table Saw Fence Upgrade! – YouTube:

'Heart of Gold’ put me in the middle of the road. Traveling there soon became a bore, so I headed for the ditch.” – Neil Young, comments written for the liner notes of his 1977 compilation, Decade.
So I have a Steel City table saw. WIll need to dig around see if I can do something like this with it:
Adam Savage’s One Day Builds: Table Saw Fence Upgrade! – YouTube:
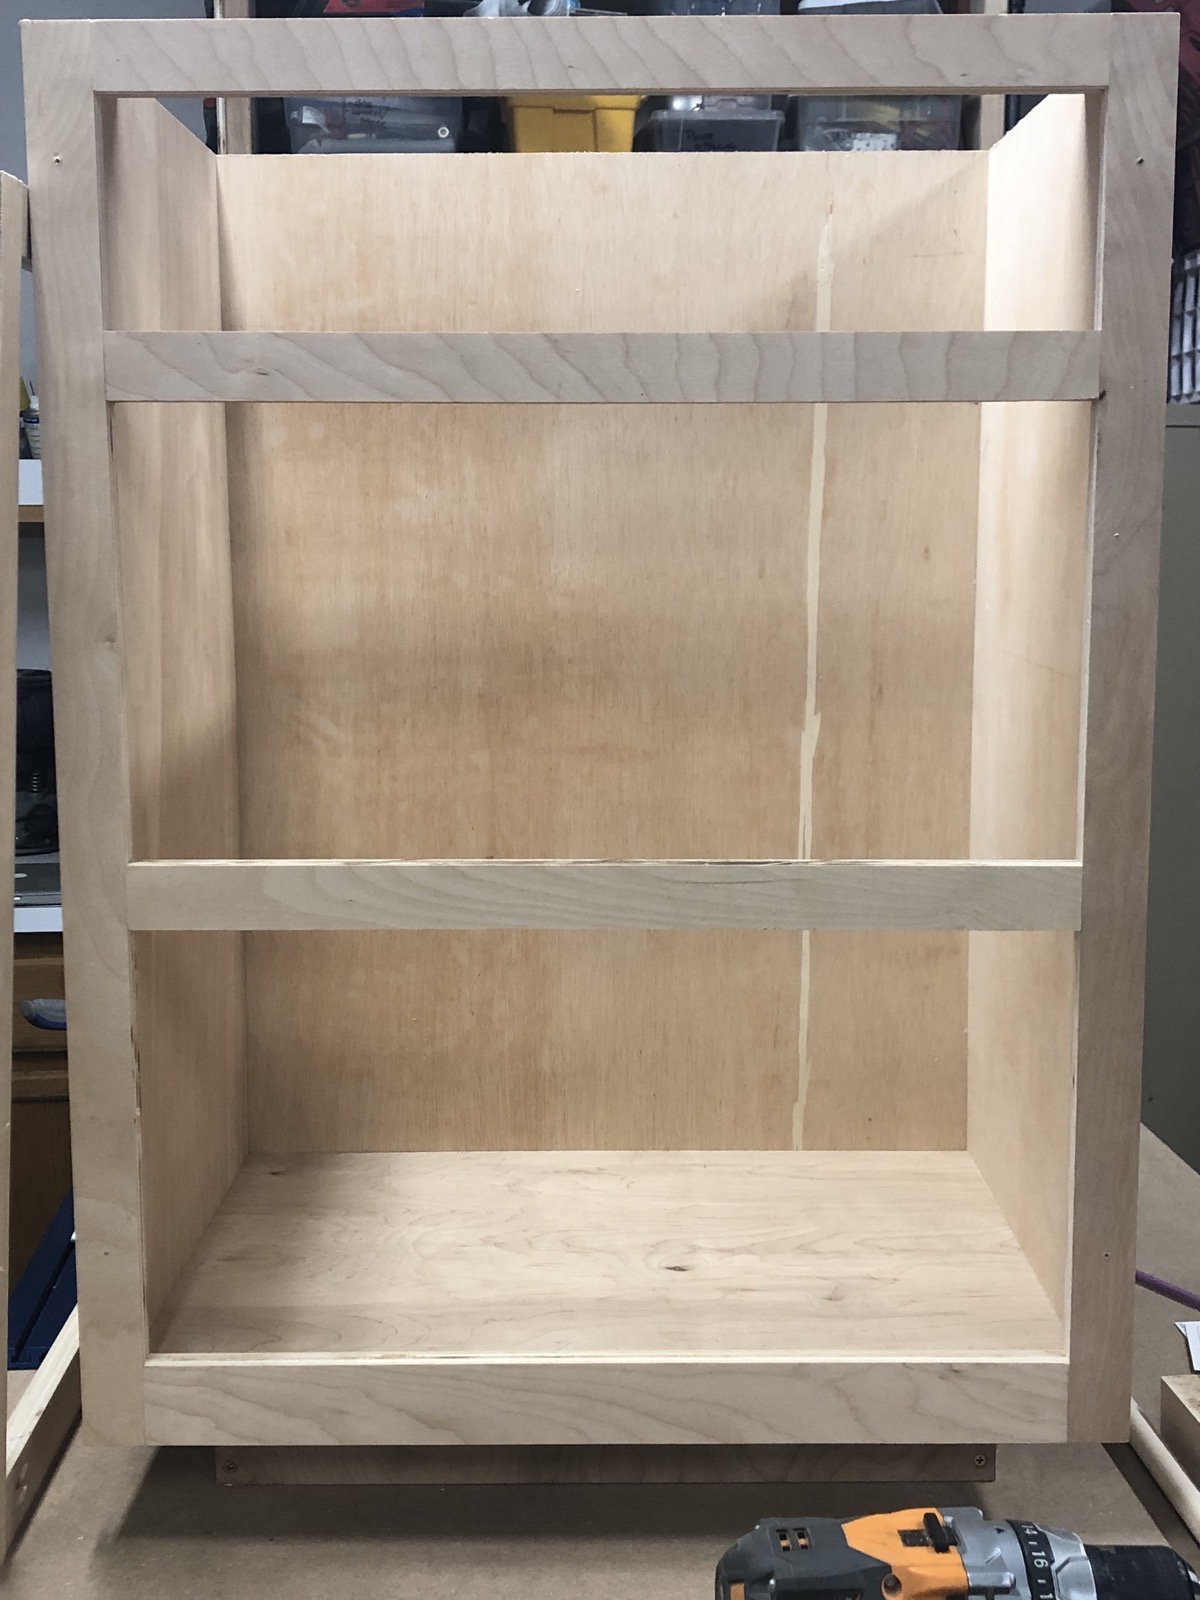
Last night I finished the first cabinet prototype. A few things to change in the process but I think I’ve got down how I’m going to build them in a mass production way.

I am now on to building cabinets for the house. Cabinets for the kitchen, built-ins and the like.
I thought I would document what I was doing
Part 1
The first thing to do is to have the necessary tools. It doesn’t have to be anything fancy but you want them to be in good shape, be able to cut straight, etc.
I have a nice table saw with plenty of power (Steel City), a chop saw, sander(s), a Kreg jig and screws.
I also built a box that helps me do cross cuts on the table saw for material that is to large for the chop saw such as 24” wide plywood.
You could certainly use a Skil saw if that’s all you have plus some nice straight lengths of wood and some clamps. Use the straight lengths of wood as guides for your cuts. Clamp them down to keep them in place.
Here is my jig (and table saw with the out table and dust collector):

Once you have the tools and naturally a place to do the work you need a plan for building the cabinets. Below is a shot of the plan that I have for my 36” base cabinets. This allows me to review with cut list and know with certainty what I need and just simply do the cutting.

With your plan in in your hand, review the cut list and start cutting the pieces to match cut list. When making your cuts make sure to keep the kerf (the width of the blade). I forgot about it…once. Hence why you see the plans above.
You will end up with a pile of wood that looks something like what you see below. The 1×4’s are used for the base. The pile of plywood contains three pieces for each cabinet.
This pile needs to 1×4 supports to be cut as well as the bit of 1/2” plywood that will make up the back of the cabinet.

Here is the table with a bit of Molly work on it.

Here is the table after the last little bit of work.


Assembly will come soon!

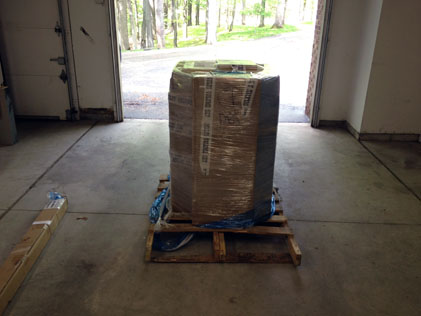
Steel City Tool Works. Pretty excited to get this thing and get started on building cabinets and other stuff for the new house. Delivery May 22nd…
