I have a pretty nice office in our house. Great space with a decent size closet. We had an old butcher block piece from Ikea that I originally used in our laundry room. I poured a concrete counter in there and used the butcher block to create a small narrow desk in the office closet. There is also a an old set of plastic shelves in the closet to store a bunch of junk.
I decided I need to clean this mess up, create storage for materials and electronics like printers and just generally organize and reduce the clutter.
The first part of this effort is to create cabinets for the space.
Creating the Cabinets
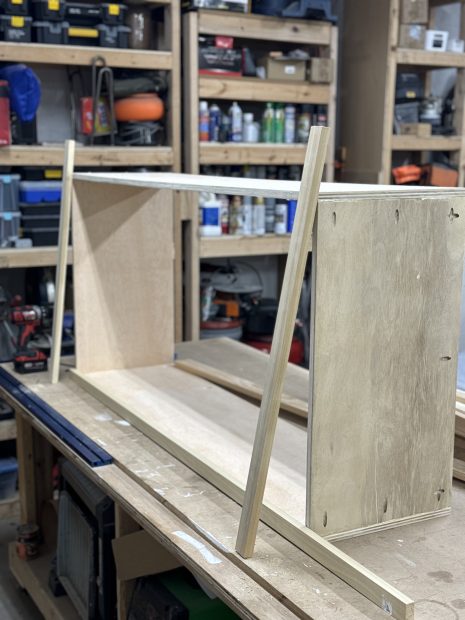
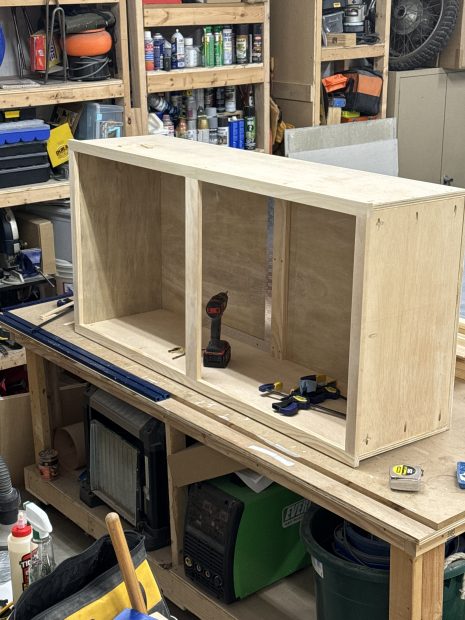
I’m fortunate enough to have space in my garage for a table saw and some other equipment . The cabinets for this effort are really simple. Just 3/4″ plywood held together with Kreg screws and glue.
The frames are 1″ x 2″ bits with 1″ x 4″ centers to divide the cabinets. The intention is to add doors…when I figure out how to build them.
Once the cabinets are built naturally we need to hang them.
Hanging the Cabinets
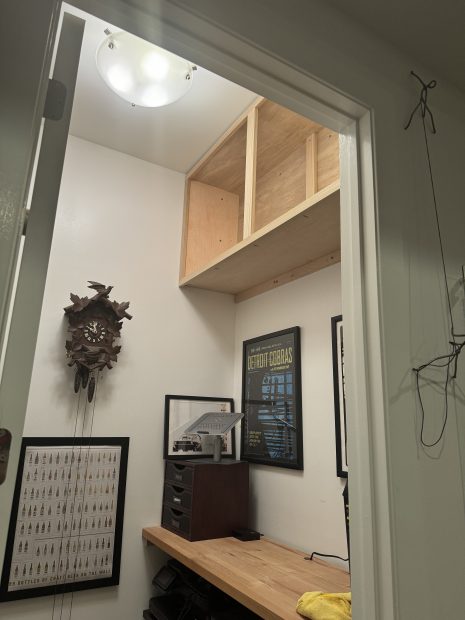
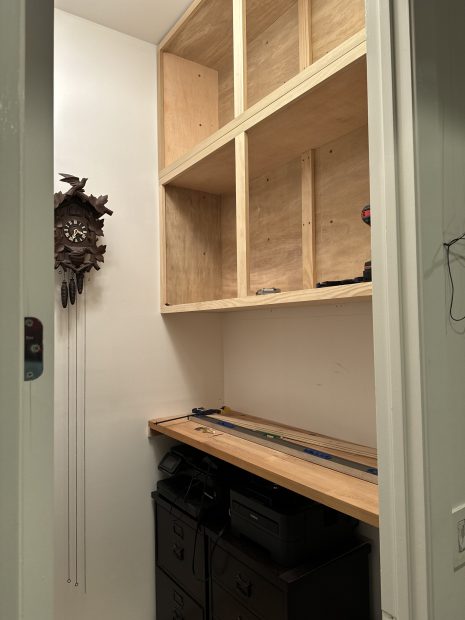
The picture below is after I hung the first cabinet and put everything back into place for the week. The ceilings in this house are much higher than a ‘normal’ house. It’s awesome. One other thing to note is that since the area that I’m hanging these cabinets encloses the cabinets on three sides it guarantees that I can secure them to the wall. Lots of screws…just in case.
The cabinet was…heavy but I got it up there with some help from my wife and the bit of plywood screwed to wall to give me a place to set the bottom of the cabinet as I lifted it.
Add a bunch of cabinet screws in the back and two sides and it is rock solid.
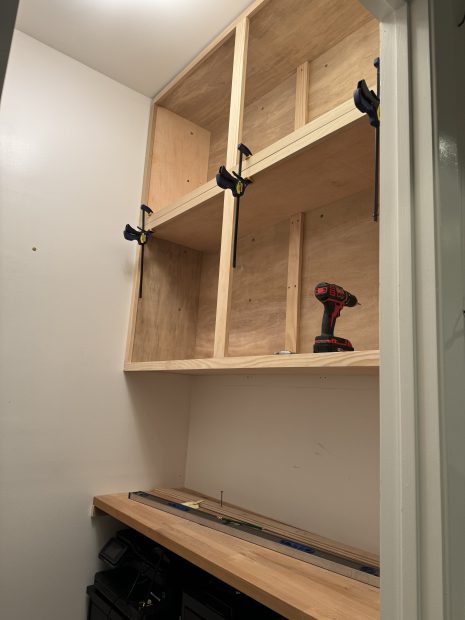
The second cabinet followed the model established for the first one. This one took more effort to hang because one of the walls has a bit of bend inward. The tolerances are pretty good.
Here is an image of the cabinets in place.
Now that the cabinets are in place it is time to build some shelves.
