Building kitchen cabinets – Part 1

I am now on to building cabinets for the house. Cabinets for the kitchen, built-ins and the like. 

I thought I would document what I was doing

Part 1

The first thing to do is to have the necessary tools. It doesn’t have to be anything fancy but you want them to be in good shape, be able to cut straight, etc.

I have a nice table saw with plenty of power (Steel City), a chop saw, sander(s), a Kreg jig and screws. 

I also built a box that helps me do cross cuts on the table saw for material that is to large for the chop saw such as 24” wide plywood. 

You could certainly use a Skil saw if that’s all you have plus some nice straight lengths of wood and some clamps. Use the straight lengths of wood as guides for your cuts. Clamp them down to keep them in place. 

Here is my jig (and table saw with the out table and dust collector): 

IMG 1286

Once you have the tools and naturally a place to do the work you need a plan for building the cabinets. Below is a shot of the plan that I have for my 36” base cabinets. This allows me to review with cut list and know with certainty what I need and just simply do the cutting. 

IMG 1284

With your plan in in your hand, review the cut list and start cutting the pieces to match cut list. When making your cuts make sure to keep the kerf (the width of the blade). I forgot about it…once. Hence why you see the plans above.

You will end up with a pile of wood that looks something like what you see below. The 1×4’s are used for the base. The pile of plywood contains three pieces for each cabinet. 

This pile needs to 1×4 supports to be cut as well as the bit of 1/2” plywood that will make up the back of the cabinet.


IMG 1285

Cleaning the deck

Below is an image of our deck after a bit of cleaning and gently power washing. 

IMG 1274

We used Restore on the deck after replacing about 1/3rd of the 2×4’s on the deck. We sanded the entire thing with power sander (again gently) and applied the Restore. That was 2 years ago. One thing that we did was use a small roller that was the width of the 2×4’s and SLOWLY applied the material. We then used a small putty knife between the joints to clear the material. Doing so kept the material from crossing the joints.

One side effect of this is that we used considerably less material than we anticipated given the size of this deck and a smaller secondary deck we repainted as well. 

Very happy with the results. 

 This is the deck midway through the reconstruction back in August of 2013. Note the pepto-bismal pink color. Lovely, no?

IMG 0757

Pantry closet – part 3

Here is another update on the pantry. The wife wanted to get the spices out in the open so that we could see them, know what we have and not buy more of what we already have. 

Apparently 3 containers of Allspice is a bit wasteful if you are not going to use it. In addition, the spice racks were taking up 3 shelves in one of our cabinets that we then were able to free up.

She did a bit of digging and found example of folks hanging spices stored in tins off a metal sheet. 

So, she purchased as series of tins and magnets. She glued the magnets to the tins. She then purchased chalk markers and labels (they wipe clean with a bit of water on a towel). 

I bought a bit of stainless (24” x 48”) and hung it from the door using contact cement and 4 mollies. 

Here you have the result: 

IMG 1267

New Project – Pantry closet

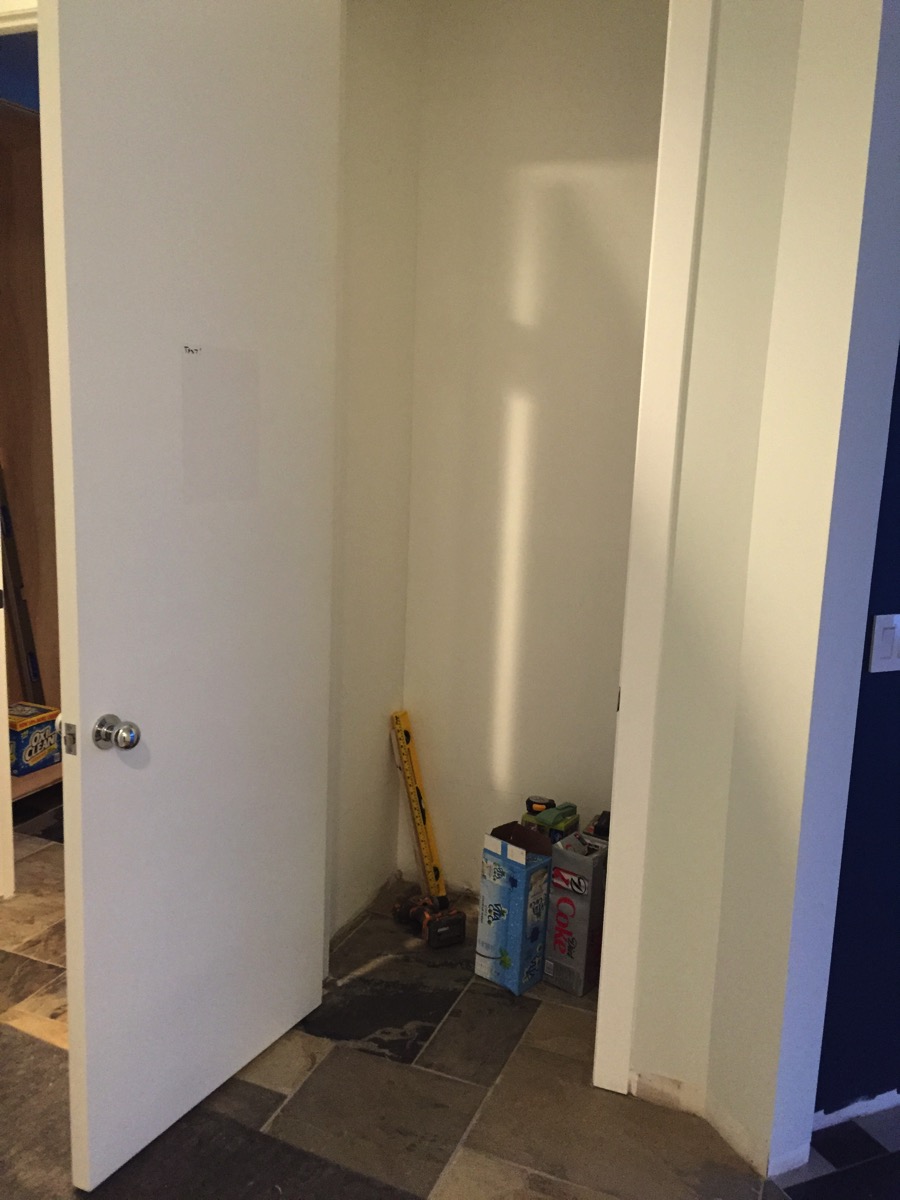
New project after the table. When we bought the house we pulled out all of the shelves in the closets because they were horrible. This particular closet is off the kitchen and is going to be used as a pantry. The configuration of the walls in the closet is a bit goofy as the walls form an arrow that points the right in the picture. 

Long story short is that I will cut some shelves out of 3/4 plywood to match the shape, nail supports to the wall all the around for the shelves and paint the whole thing white. 

IMG 0657

The deck is done…

Well, 98% done. Just have to touch up the black rails a bit.

Took my wife and I 18 hours over the weekend to apply Rustoleum’s Deck Restore product…that’s 2 coats.

We applied it with 4″ rollers and applied it slowly. That avoided wasting a lot of the material and splattering it all over. Going slow also makes the material ‘spike’ less. That means that the natural ridging of the material is rounded off and you don’t have to follow along with a brush to smooth it out. My advice to you is to read and then follow the instructions and go slow.

If you’re curious why 4″ rollers…the deck was built in the early 1990’s and the decking is 2″ x 4″ boards rather than the 1″ x 6″ boards which became the standard later on. If we had a 1″ x  6″ boards I would have used a 4″ roller, cut down the 6″ rollers to fit and capped the end of the roller.

Hoping that we’ll get about 5 more year of use out of the deck before I have to tear it apart.

All in all pretty happy with the result.

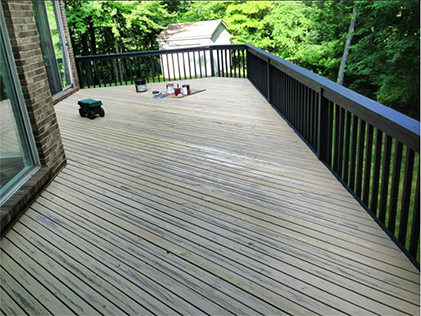
Before

Beforedeck

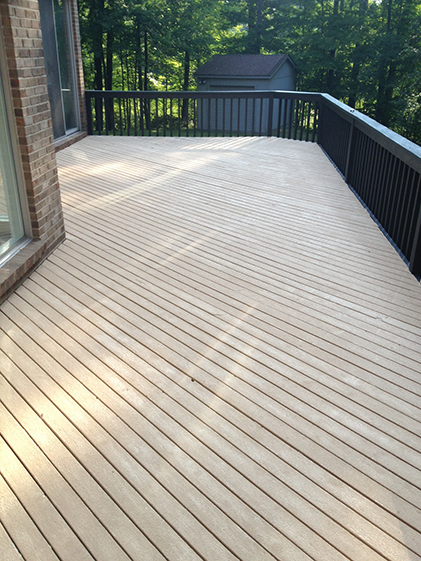
After

FinishedDeck

The house projects – cabinets

I have two projects left on the interior of the house:

1. Baseboards
2. Cabinets

In the case of the cabinets it’s more than just cabinets. It will be cabinets plus shelving and other doodads to complete a laundry room, pantry, mud rooms and two walk-in closets.

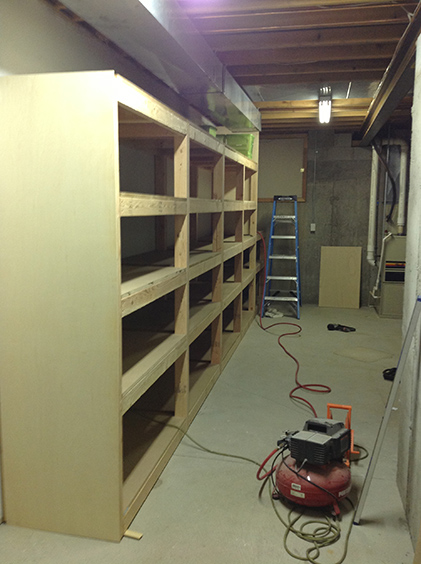
So below is a picture of the first carcase that I am working on.

1st carcase

Total cost at this point is $40 including the maple face frames (not seen)