I was watching one of Adam Savage’s Tested videos and he mentioned ‘SmarterEveryDay’ (Destin is the host) and the video ‘I Tried To Make Something in America’.
Great video. Check it out here.
'Heart of Gold’ put me in the middle of the road. Traveling there soon became a bore, so I headed for the ditch.” – Neil Young, comments written for the liner notes of his 1977 compilation, Decade.
I was watching one of Adam Savage’s Tested videos and he mentioned ‘SmarterEveryDay’ (Destin is the host) and the video ‘I Tried To Make Something in America’.
Great video. Check it out here.
This is…pretty good.
April 20 → September 27, 2026 · Returning runner at 58
I ran this race back in 2009 and have been wanting to do it again ever since.
The Life Time Chicago Half Marathon is a flat, fast course along Lake Shore Drive — a great setup. It’s at the end of September in Chicago, which makes for ideal running weather and…the last time the weather was absolutely gorgeous.
I was a bit younger then which will make the prep work a bit harder. Whatever.
If you’re interested, here’s my invite link: https://letsdothis.com/share/69deac54cff0cef3984795f8

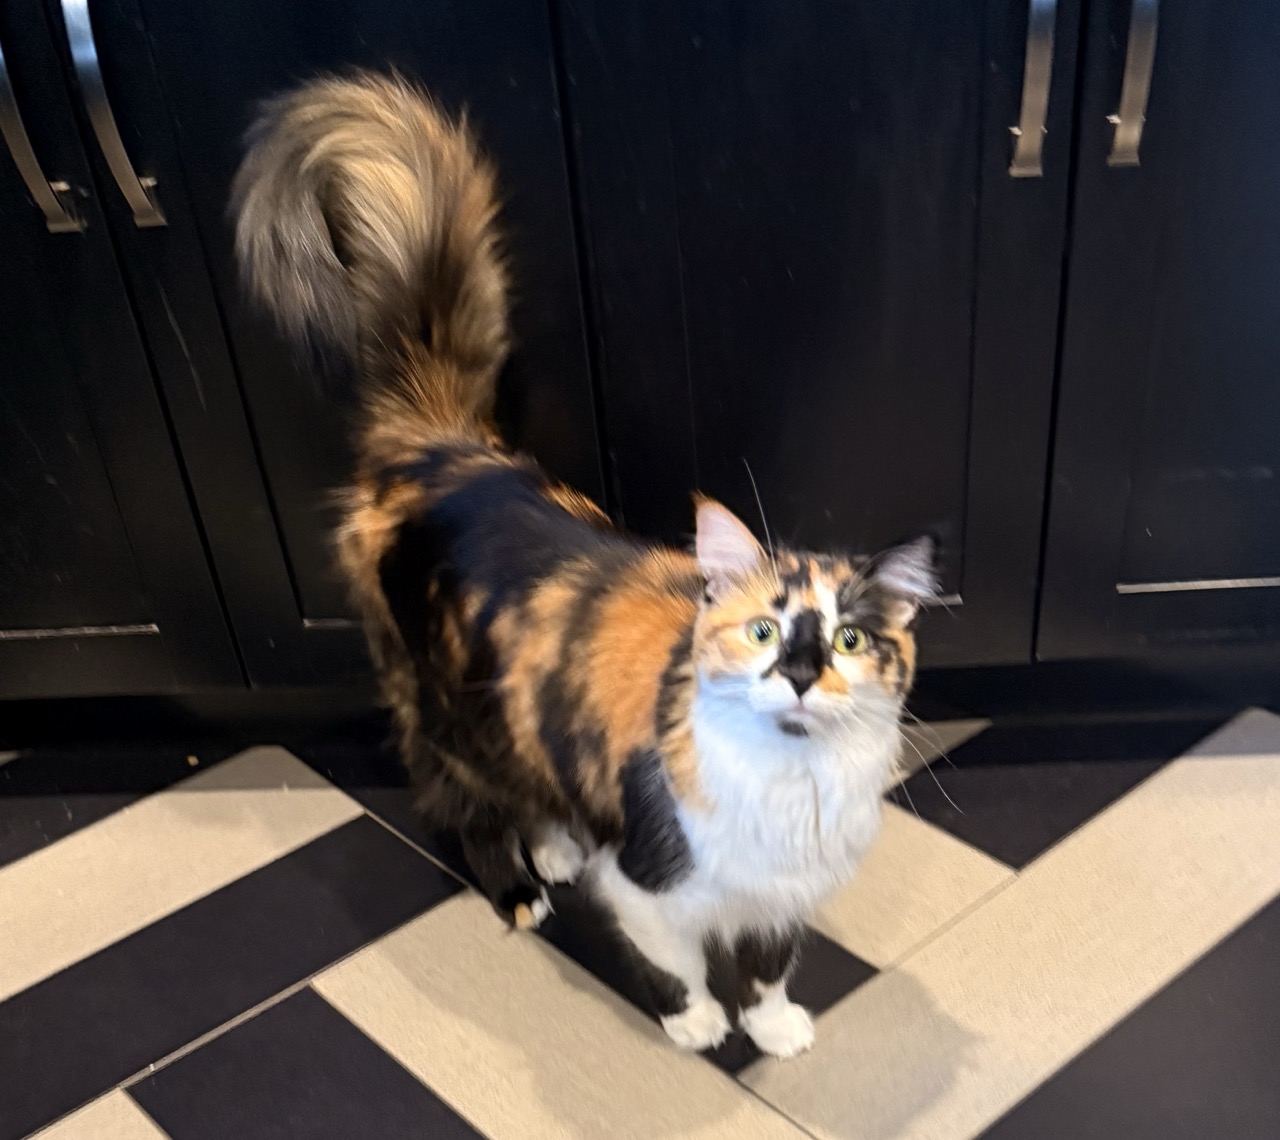
Edith is/was a feral cat born in May of 2025. She was hanging around after her mom and the other feral cats we had hanging around left (they are still around just not around our house). It was pretty cold outside during January and we decided to coax her inside the house. She and our other cats get along fabulously.
Been awhile since I did an update. I’ve been traveling which is always a good time to get some reading done. Let’s see what we got:
All of the above books were pretty good. Number 1 and 2 are Westerns and rest vary on subject matter.
Everything is Tuberculosis was the book that I learned a lot from. I didn’t know that tuberculosis was so prevalent.
We’ve had Koi since September 2024 (Sept. 4th to be exact). The only way I can describe her is joyful.
I’m heading off on a week’s vacation and looking forward to it. Hoping to be able to get a jump on this year’s book list. I’ve got quite a few candidates which I’ll list out later.
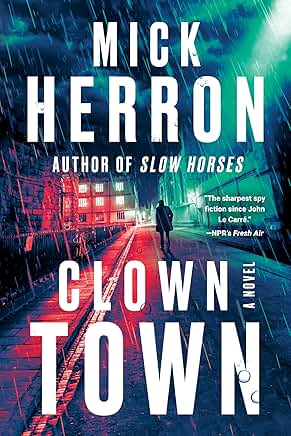
This is the ninth book in the ‘Slow Horses’ series. I enjoyed it but it is not as good as the others in the series.
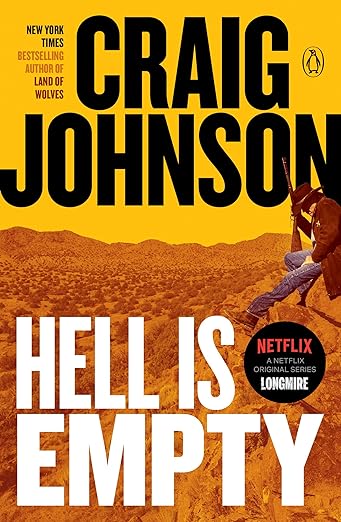
Another Craig Johnson book. Love his style of writing and I enjoyed the story.
Note that the cover is wrong. Netflix dropped the show and Paramount picked it up.
The Italian campaign was just absolutely brutal. This book outlines this up until the capture of Rome. The fight for Cassino was just two forces bashing their heads together with the resulting casualties. Terrible.
